5 Best Ways to Troubleshoot Diode Laser Hair Removal Cooling

Time:2026-11-03 Author:Isabella
0%

A diode laser’s cooling system is not a comfort feature; it helps manage heat at the treatment tip and supports consistent operation. When the handpiece feels warmer than usual, coolant flow looks weak, or a temperature warning appears, guessing can make the problem worse. A careful check is better.

Laser researcher Dr. R. Rox Anderson’s work on selective photothermolysis offers a useful principle. Paraphrased, not a direct quotation: “Deliver energy precisely, while protecting surrounding tissue.” That principle matters here, but it does not replace the device’s service manual or a qualified technician’s judgment. Small details count. A kinked hose. A dusty air intake. A coolant reservoir below its marked level.

This guide explains how to troubleshoot a diode laser hair removal cooling system through five practical checks, from coolant and airflow to sensors and service escalation. Start with visible, user-serviceable items only. Do not open energized equipment or bypass a safety interlock. Record warning codes, readings, and when the fault occurs; those notes can help a technician find the cause. Not every symptom has a simple fix. Sometimes the best troubleshooting step is stopping use and requesting qualified service. That can feel inconvenient, but it is safer than treating through uncertainty.
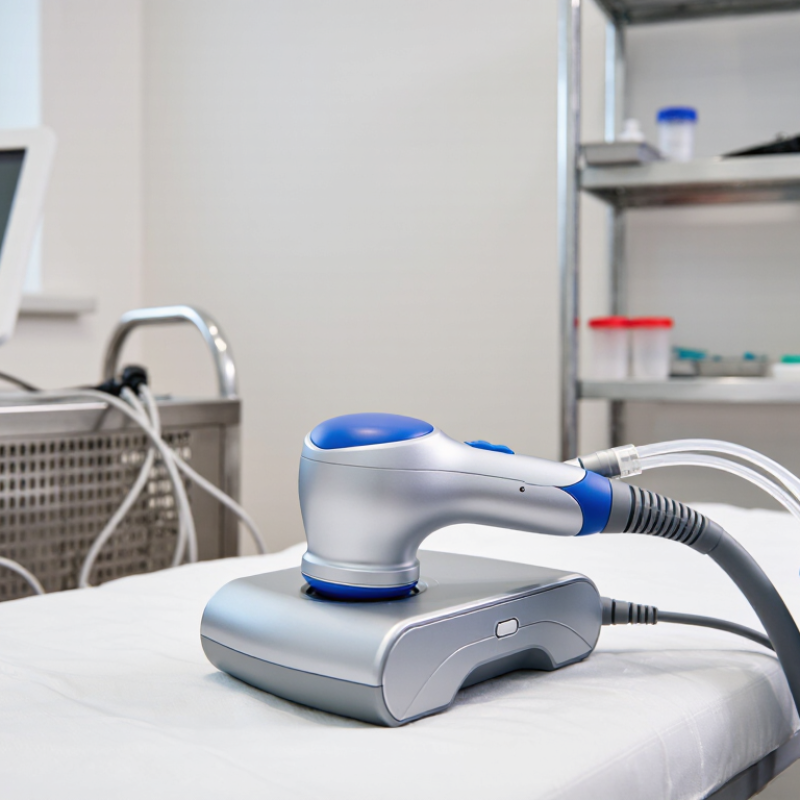
5 Best Ways to Troubleshoot Diode Laser Hair Removal Cooling

Understanding the Diode Laser Cooling System and Common Faults

A diode laser cooling system protects the handpiece and helps keep treatment temperatures stable. Depending on the device, it may use circulating coolant, a pump, a radiator or fan, temperature sensors, and a cooled contact tip. If one part underperforms, the tip may feel warmer than usual, or the machine may pause and show a temperature warning. Cooling faults can resemble laser-output problems, so check the display and operating instructions before assuming the laser itself has failed.

Begin with simple external checks. Confirm the coolant level and use only the fluid specified in the device manual. Look for kinked hoses, visible leaks, blocked air vents, or dust around the fan. Listen for an unusual pump noise, but do not open an energized enclosure. Small air bubbles or old coolant can also reduce circulation. That detail is easy to miss.

Next, check whether the handpiece tip sits flush against the skin and is clean, since poor contact can feel like inadequate cooling. Let the unit cool, then restart it according to the manual and see whether the warning returns. Do not bypass a sensor or continue treatment when cooling seems unreliable. A fault code may point toward a sensor, pump, or airflow issue, but codes vary by model. Even careful checks have limits; persistent warnings need assessment by a qualified service technician.

Checking Coolant Levels, Flow, and Water Quality

Start with the coolant reservoir, checking its level against the equipment’s marked range. Inspect it while the system is off and cool, following the service instructions. A low level can reduce heat removal, but adding fluid without checking for leaks may hide the real problem. Look beneath the unit and around visible connections for damp spots or dried residue.

Small changes matter. Check the flow indicator, if fitted, and note whether circulation looks weaker than usual. Bubbles, uneven movement, or a flow warning deserve attention; do not keep treating in the hope that cooling will recover. A kinked hose or blocked filter may restrict flow, but internal repairs should be left to qualified service personnel. It is easy to blame the handpiece too quickly.

Water quality affects cooling passages over time. Use only the coolant or water type specified in the equipment’s instructions; tap water can leave mineral deposits, while unsuitable additives may damage components. Replace fluid at the stated interval, and record the date, level, and any alarms. Do not guess. If the level drops repeatedly, the fluid looks cloudy, or the device overheats, stop use and arrange inspection. I would not treat a clear reservoir as proof that circulation is healthy.

Inspecting Filters, Hoses, and Cooling Components

Inspect the cooling path before assuming the laser source is at fault. Turn the unit off and follow its service instructions before checking accessible filters or hoses. A filter packed with lint or mineral residue can restrict circulation. Look for discoloration, damp fittings, and flattened sections of hose. Small details matter. Do not remove covers or handle internal parts while the system is energized.

Check the coolant level and any visible flow indicator against the equipment manual. Bubbles, weak flow, or a hose that feels unusually warm may point to a circulation problem, but none proves the cause on its own. Cooling can also suffer when radiator fins are dusty or a fan is blocked. Use only the cleaning method specified for the device; compressed air can push debris deeper. Note room temperature and when the warning appears, since intermittent faults are easy to misread. If cooling remains unstable, stop treatment and ask a qualified service technician to inspect the pump, sensors, and sealed components. It is tempting to keep testing, but that can worsen overheating.

Cooling-Loop Flow: Estimated Heat Carried by Water

When checking filters, hoses, and cooling components, compare measured flow with the device’s service specifications. This chart shows the estimated heat carried away at different water flow rates for each 1°C of water temperature rise; it is a physics-based reference, not a device performance target.

Estimates use water density of approximately 1 kg/L and specific heat capacity of 4.18 kJ/(kg·°C). Actual cooling performance depends on the device, coolant, and measured temperature difference.

Verifying Temperature Settings and Allowing Proper Heat Dissipation

When diode laser cooling seems weak, check the temperature display before changing settings. Use the operating range in the service manual, and confirm the setpoint suits the handpiece and treatment protocol. A normal-looking number may still be inaccurate if a sensor is loose or calibration is overdue. Note any alerts and compare readings during an approved test cycle. Keep the treatment head away from skin during checks. Safety first.

Heat needs room to escape. Keep intake and exhaust vents clear; dust, towels, or a nearby wall can restrict airflow. Check that the room temperature is within the unit’s specified range. Listen for steady fan or pump operation, and inspect accessible coolant lines for kinks. Follow the manual before cleaning filters or handling coolant. Never remove panels unless you are qualified to do so. It is tempting to keep adjusting temperature settings, but that may hide the real issue. If readings drift or cooling remains uneven, pause use and contact a qualified service professional.

Testing Cooling Performance and Knowing When to Seek Professional Service

Reliable cooling should remain steady throughout the manufacturer’s approved test cycle. Check the device’s temperature or cooling indicators before use, and note any unexpected changes. Look for clear coolant-flow readings, unobstructed vents, and a clean contact surface. Never judge performance by placing the handpiece against your skin. Follow the operating manual and use approved test equipment. A blocked vent can resemble a coolant fault, so the first guess is not always right.

Tips: Record the warning message, cooling readings, and when the issue occurs. Compare results with the device’s normal operating range. Keep the notes; they can help a technician diagnose the problem faster.

Stop treatment and arrange professional service if cooling is uneven, alarms keep returning, coolant leaks appear, or the handpiece becomes unusually warm. Strange pump noise matters, too. Do not bypass safety controls or open sealed components to investigate. A qualified service technician can check the pump, sensors, and internal cooling path using proper diagnostic tools. If readings seem normal but cooling still feels inconsistent, pause and ask for an assessment rather than relying on guesswork. It is tempting to keep testing, but repeated operation may worsen a fault.

FAQS

What should I inspect before assuming the cooling system has failed?

Turn the unit off and follow its service instructions. Check accessible filters and hoses for lint, residue, damp fittings, discoloration, or flattened sections. Small details matter.

What can a clogged filter do?

Lint or mineral residue can restrict circulation. Weak flow may follow, but it does not prove the filter is the cause.

How can I check coolant flow?

Compare the coolant level and visible flow indicator with the equipment manual. Bubbles or weak flow may suggest trouble. Not proof, though.

What signs may point to a circulation problem?

Look for warm hoses, leaks, bubbles, weak flow, or recurring warnings. Note the room temperature and when the warning appears.

Can dust affect cooling?

Yes. Dusty radiator fins or a blocked fan can reduce cooling. Use the specified cleaning method; compressed air may push debris deeper.

How should cooling performance be tested?

Follow the approved test cycle and use approved equipment. Check temperature readings, flow indicators, vents, and the contact surface. Never test against skin.

When should I stop treatment and seek service?

Stop if cooling is uneven, alarms return, coolant leaks, or the handpiece feels unusually warm. Strange pump noise matters, too.

What details should I record for a technician?

Write down warning messages, cooling readings, and when the issue occurs. Compare readings with the manual’s normal range. Keep those notes.

Should I keep testing if readings look normal?

No. Pause if cooling still feels inconsistent and request an assessment. Guessing can be tempting, but repeated operation may worsen a fault.

Conclusion

Effective diode laser hair removal depends on a cooling system that maintains stable temperatures and protects the equipment from excess heat. This guide explains how to troubleshoot a diode laser hair removal cooling system by first checking for common signs of trouble, such as temperature fluctuations, weak coolant circulation, or unusual alerts. Confirm that coolant levels are within the recommended range, inspect the fluid for cloudiness or contamination, and verify that it flows freely through the system.

Next, examine filters, hoses, and other cooling components for blockages, leaks, kinks, or visible wear. Check that temperature settings are appropriate and give the device enough time and ventilation to dissipate heat between uses. After making basic checks, monitor cooling performance during operation and note any recurring problems. If the system continues to overheat, circulation remains poor, or a fault cannot be safely resolved through routine maintenance, stop using the equipment and contact a qualified service professional.

Isabella

Isabella

Isabella is a dedicated marketing professional with a sharp focus on driving brand growth and engagement through strategic content creation. With an extensive background in digital marketing, she combines her passion for storytelling with her keen understanding of industry trends to deliver......